.JPG) |
| Step 1: Gather your supplies... |
This is a super easy way to make a skirt. Once you have this down, it should only take 30-60 minutes to make one. You'll need about a yard of fabric (depending on size & print), a machine (or you could always hand sew, but that will take more time), coordinating thread, scissors, an area to cut your fabric, & a measuring tape or ruler.
 |
Step 2: Measure your waist. Divide that in half, then cut.
My daughter's waist is 20 inches, so I cut at the 11 inch mark.
Step 3: After the fabric is cut, put right sides together & pin. |
I made this considerably smaller for my daughter, so you'll just scale up to fit you. Also, to have more fullness & ensure it'll fit my hips, I always cut a few inches bigger than actually necessary. I used 100% cotton, 44 inch wide fabric, so when I was initially cutting the fabric was folded in half. After I cut it for the waist, I cut it in half at the fold, to have 2 even pieces.
 |
| Step 4. Sew those two sides together! Both sides, leaving the top & bottom alone. |
.JPG) |
Step 5: Not 100% necessary, but zig-zag over all raw
edges helps keep things looking nicer. |
 |
| Step 6: Zig-zag stitched the raw bottom hem, then rolled.... |
 |
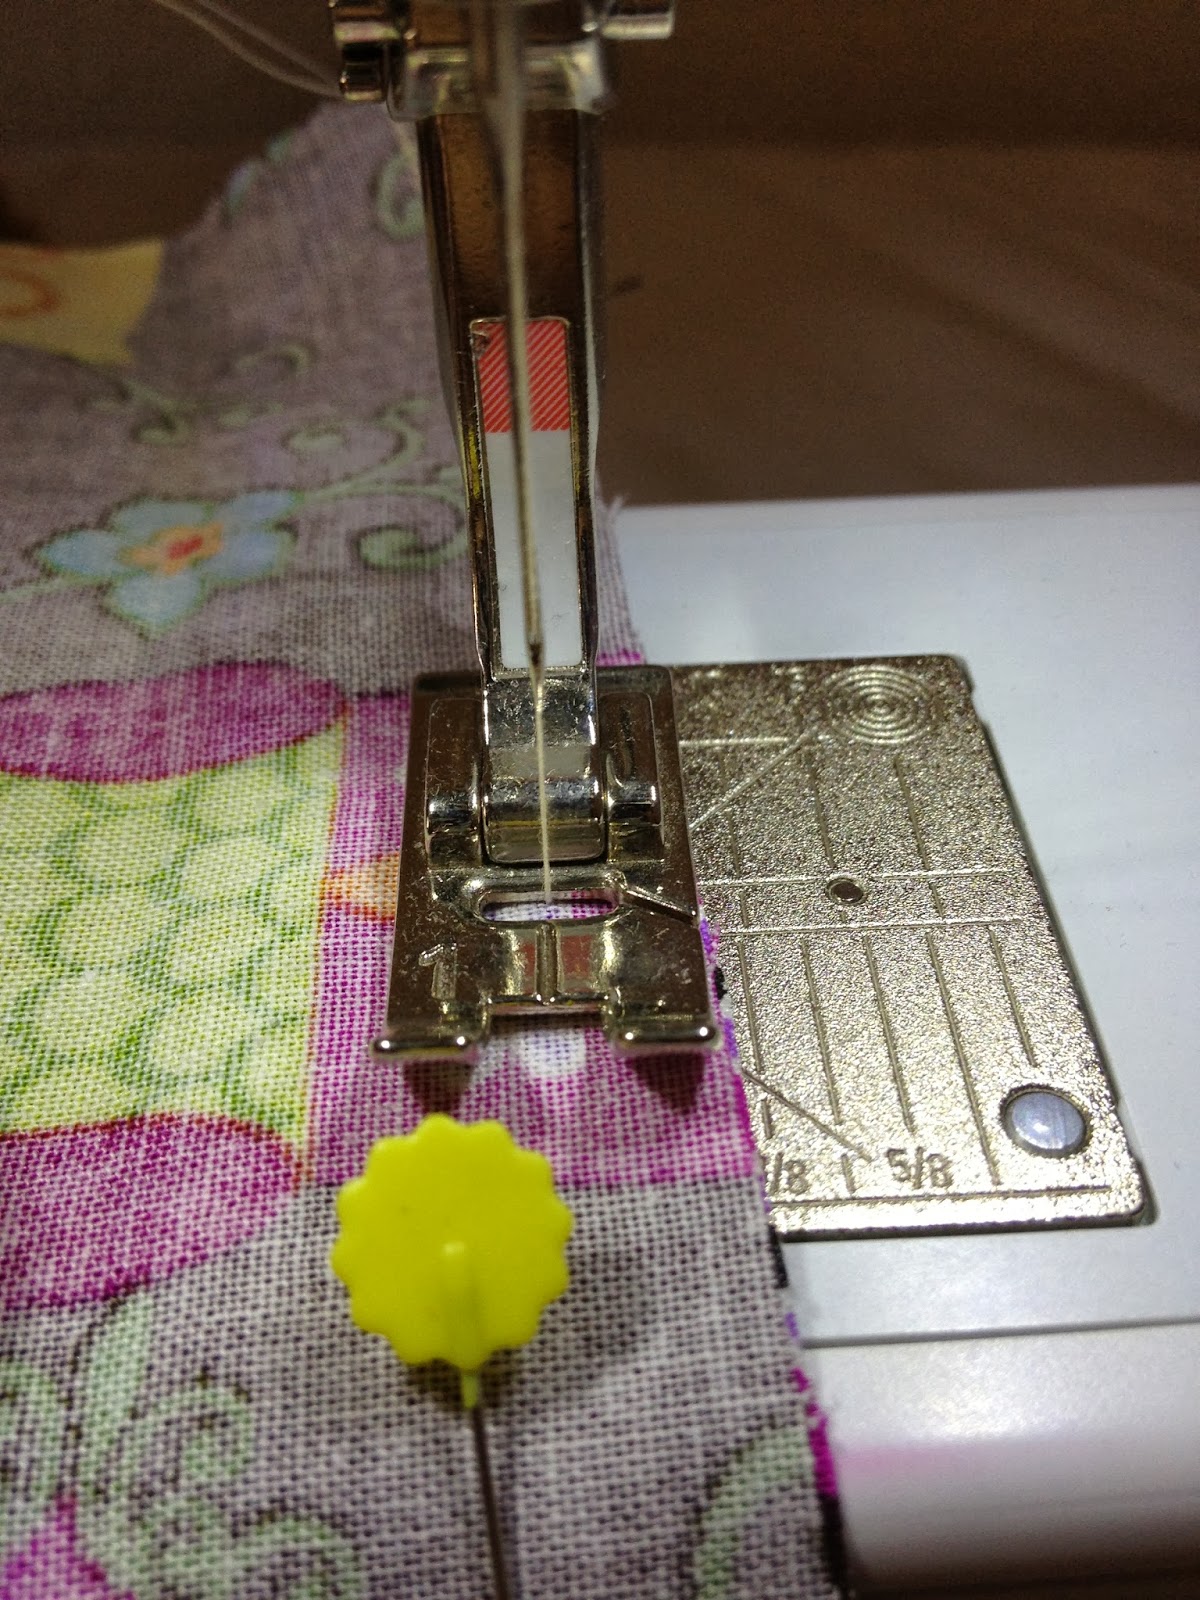
| Step 7: Sewing a straight stitch over the rolled hem. Just makes it look a smidgen neater. |
I normally do the hem before I take care of the waist, but that's only because I typically hem everything about the same length.
 |
Step 8: Waist time! I used 1 inch elastic & measured what was comfortable around my daughter's waist.
I folded over the top just enough so the elastic would fit and did a straight stitch, leaving about an inch open so I could wiggle the elastic in. |
 |
| Step 9: Pinned the end of the elastic in place, then used a safety pin to pull the other end through. When it had come all the way through, I sewed it into place, then closed the inch opening I'd left. |
 |
| Step 10: Finished product! |
 |
| Little bit wearing her new skirt...she loves it! :) |


.JPG)

.JPG)


